 It seems like every year around this time, a baby boom starts. I know probably ten local women that either just had, or are soon due to have babies. I enjoy seeing all of the bumps growing, forming, blooming with anticipation. Those bellies give off warmth. They means spring is coming. They means life is happening. And, of course, they mean baby showers! And who doesn’t love shopping for baby things?! Mini socks, mini clothes, mini bathtubs, snuggly blankets, gentle shampoos and lotions, and so many creative child rearing gadgets that I wonder how people ever lived with out them?
When I get the rare chance to go shopping with my mamma, we inevitably end up in the baby/children’s section. We try to walk by, give the little clothes and toys a quick once-over, pretend like we have plenty at home. But…then…something adorable, something so tiny and sweet, catches our eyes, and our cart wheels begin to pull magnetically towards the mini merchandise. At times I wish they made the same clothing styles for mamma’s, but I imagine a soft, cotton, pink polka-dotted one-piece outfit with snaps up and down the legs would not be nearly as cute in a ladies size 8 (but I bet it would be soooo comfy!)
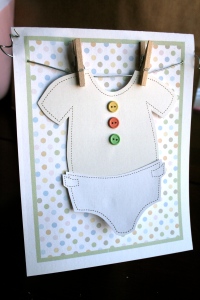
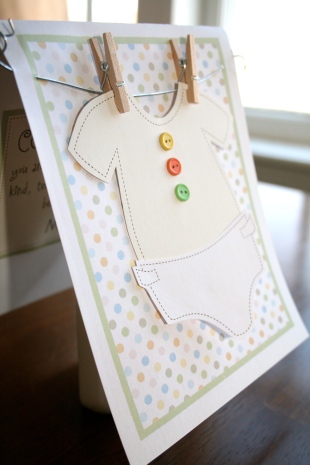
So, with that said, let me get back to the original reason I was writing this post. To share with you a free download of an original Sarah Peterson Design. This precious, baby shower card can be printed and easily created for any of the mamma’s-to-be in your neighborhood.
DIY Baby Shower Card:
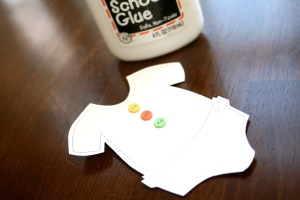
Supplies needed: Free download of the baby shower card art, a piece of white card stock, scissors, glue, 3 button brads/or real buttons/or you can use the paper buttons included with the design, 6 – 8 inches of thin wire or thin ribbon, 2 mini clothes pins.
Instructions:
1. Open the baby shower card art and print it (full size) on an 8.5 x 11 inch piece of white card stock.
2. Cut each piece along the solid light gray line.
3. Poke the wire through each side of the front of the card, about .5 inches from the top of the green border. Trim excess wire and twist the wire to hold into place (make sure no sharp edges are sticking up!)
4. Fold card in half and glue greeting to inside.
5. Glue diaper onto onesie and glue or insert button brads in a row.
6. Clip onesie to wire using mini clothes pins.
7. Don’t forget to add your name to back!
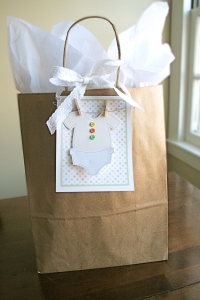
8. Give to someone you love that has a growing bump! TIP: Don’t hide your handmade card in an envelope. Sweeten your package by tying it with a ribbon or piece of pretty lace to the outside.


