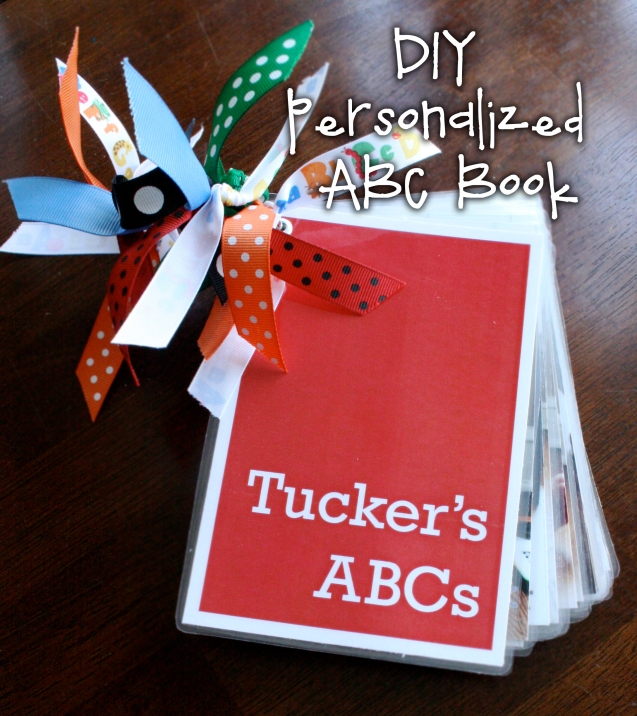
My nephew, Tucker, recently turned one! A month or so before his birthday, I spent an afternoon taking photos of him for his gift – a personalized ABC photo book. My sister-in-law (Tucker’s Mamma) had seen this idea on various sites, but I decided to do it my way.
Here’s how:
First, I took photos of Tucker with his “stuff” – one picture for each letter of the alphabet. This was a little challenging with a baby, (and included a nap time break), but it was also very fun! Some letters such as “Q” and “X”, can be a little difficult to find objects for – but see all of our pages below for ideas.
Second, I added the letters and words to each photo using Photoshop. You could, however, use any photo editing program, or scrapbooking alphabet stickers, or you could simply write the letter and word on a label with colored pens and stick them to each photo.
Third, I had the (4×6) photos printed at Walgreens one-hour photo, then had them laminated at my local Office Max for only a couple bucks per 11×17 sheet. I designed a front and back cover (also 4×6), and had those laminated, too. The laminating will help protect the book from dropping, tearing, teething, etc – but, as always, a baby should be watched carefully with anything!! 🙂
Fourth, I cut the photos out of the laminated sheets (leaving at least 2/8 inch around the edges to keep them sealed. I punched a hole in the upper left-hand corner of each page. It can be a little tough getting through the plastic sheets using a hand-held paper punch, so I used an eyelet punch tool with mini hammer to give it some extra umph! Also, using the setting tool, I added an eyelet to the front and back cover for durability.
 Last, I slid each page onto a 2 inch binder ring, and double- knotted some brightly colored ribbons along it for a little extra fun!
Tucker LOVED his special book, and I know your child will, too!


